この記事には広告を含む場合があります。
記事内で紹介する商品を購入することで、当サイトに売り上げの一部が還元されることがあります。
目次
無料SSL「Let’s Encrypt」を設定しよう
2016年4月、正式に開始された無料SSLの「Let’s Encrypt」ですが、既にエンジニアの方は御用達だと思います。
当初はSSL証明書が利用できるまでの設定が大変だったものの、今では簡単に設定が行えるようになっています。そこで今回は AWS にある Ubuntu18.04 で「Let’s Encrypt」を設定したときの手順をご紹介します。
certbot をインストールする
Let’s Encrypt を設定するとき、certbot コマンドで設定するのが簡単なため、certbot コマンドがパッケージとして提供されているかを確認します。Ubuntu の場合は、apt コマンドでパッケージの確認とインストールを行いましょう。
root@hostname:# apt-cache search certbot
certbot - automatically configure HTTPS using Let's Encrypt
letsencrypt - transitional dummy package
(省略)

root@hostname:# apt install certbot
Selecting previously unselected package python3-zope.hookable.
Preparing to unpack .../12-python3-zope.hookable_4.0.4-4build4_amd64.deb ...
(中略)
Setting up certbot (0.23.0-1) ...
Created symlink /etc/systemd/system/timers.target.wants/certbot.timer → /lib/systemd/system/certbot.timer.
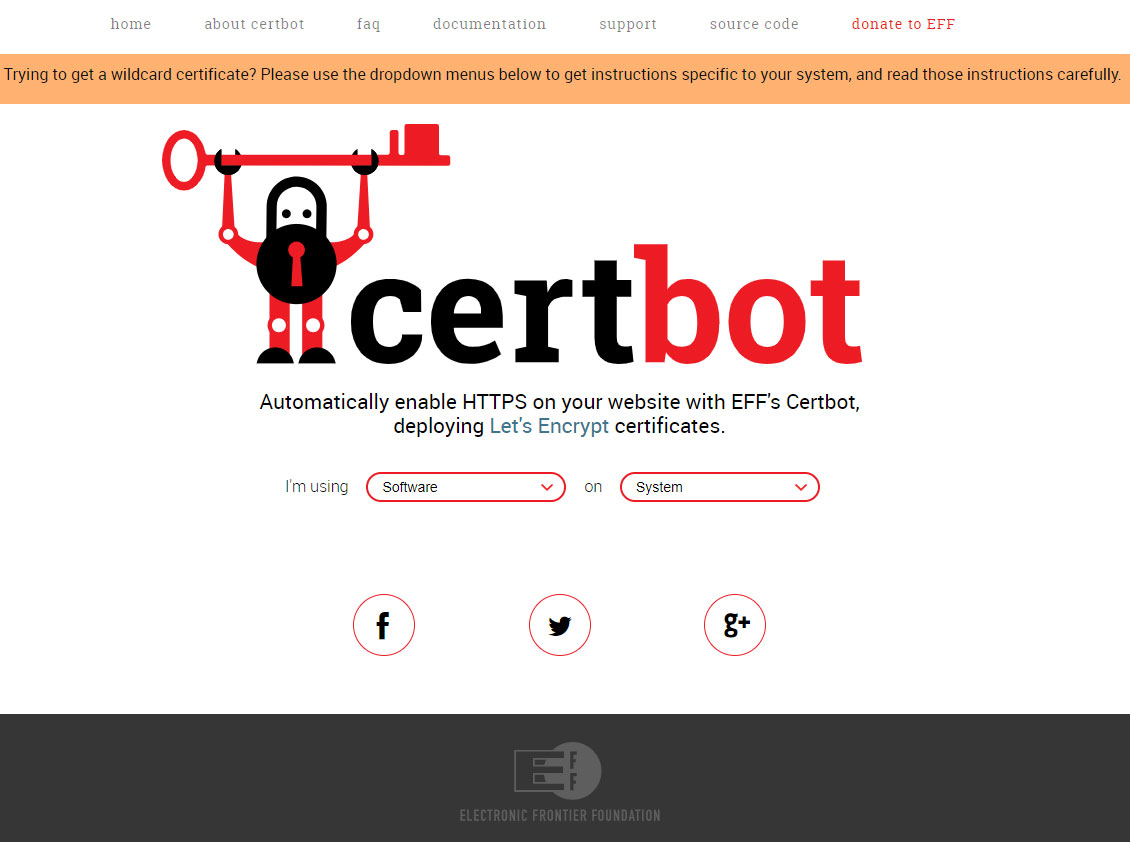
もし certbot パッケージが用意されていないときは、
https://certbot.eff.org/
にアクセスして、certbot のインストールするためのコマンド手順を確認すると良いです。
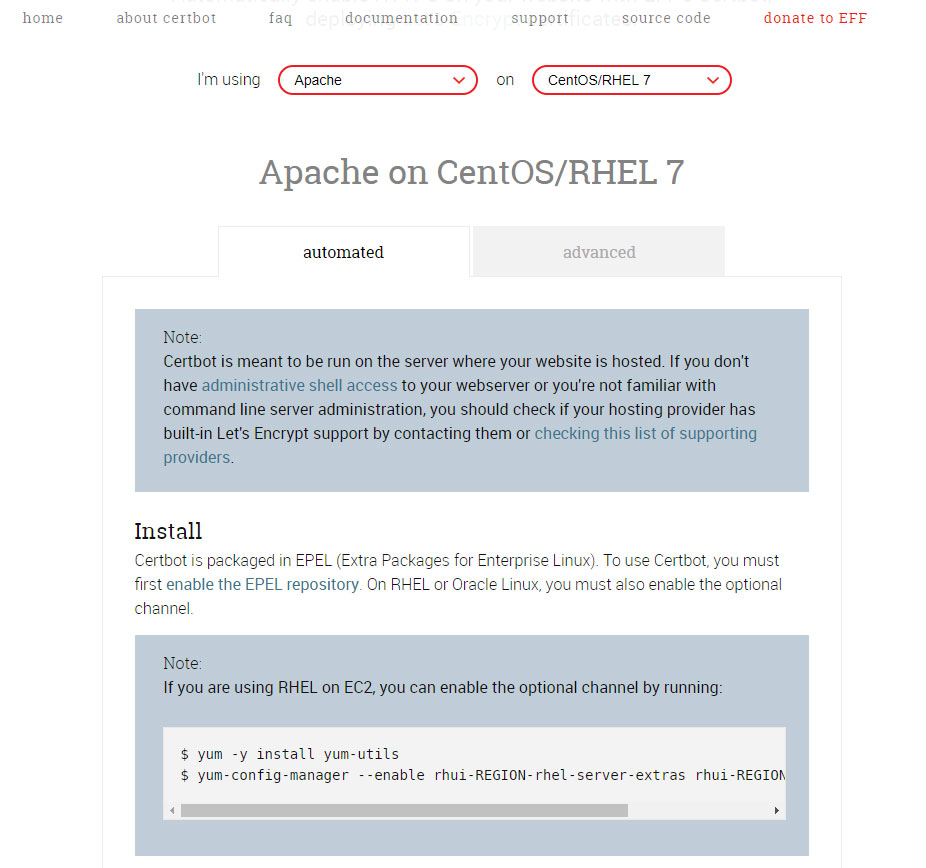
CentOS や Ubuntu などインストールしている LinuxOS と使用する Apache、Nginx などのWebサーバソフトウェアを選択することにより、簡単に certbot コマンドをインストールするための手順が表示されます。
certbot コマンドで「Let’s Encrypt」を設定する
では certbot コマンドで「Let’s Encrypt」をインストールしましょう。
実行例を確認してもらうとわかりますが、certbot コマンドを実行すると入力項目が3つ表示されます。
1つめは「連絡先のメールアドレス」。
SSLの期限が切れそうになると連絡が来たりしますので、日々チェックするメールアドレスを入力しましょう。
2つめは「利用規約の承諾」。
今回の場合であれば「https://letsencrypt.org/documents/LE-SA-v1.2-November-15-2017.pdf」に利用規約を設置しています。内容を確認した上で「(A)gree」と入力して、利用規約に承諾します。
3つめは「メールアドレスの共有許諾」。
Let’s Encrypt の協力団体である電子フロンティア財団にメールアドレスを共有しても良いかという内容です。色々なメールを送られても面倒なので「(N)o」を入力します。
※主に利用するメールアドレス1つは「(Y)es」を選択して、それ以外は全て「(N)o」を選択することをおすすめします。
サンプルコマンド
サンプルコマンドの実行例
root@hostname:# certbot certonly --webroot -w /var/www/html -d example.com
Saving debug log to /var/log/letsencrypt/letsencrypt.log
Plugins selected: Authenticator webroot, Installer None
Enter email address (used for urgent renewal and security notices) (Enter 'c' to
cancel): info@example.com

-------------------------------------------------------------------------------
Please read the Terms of Service at
https://letsencrypt.org/documents/LE-SA-v1.2-November-15-2017.pdf. You must
agree in order to register with the ACME server at
https://acme-v01.api.letsencrypt.org/directory
-------------------------------------------------------------------------------
(A)gree/(C)ancel: a

-------------------------------------------------------------------------------
Would you be willing to share your email address with the Electronic Frontier
Foundation, a founding partner of the Let's Encrypt project and the non-profit
organization that develops Certbot? We'd like to send you email about EFF and
our work to encrypt the web, protect its users and defend digital rights.
-------------------------------------------------------------------------------
(Y)es/(N)o: n
Let’s Encrypt にて SSL の発行に成功すると「/etc/letsencrypt/live/(ドメイン名)/」に SSL に設置されています。「fullchain.pem」の意味合いを取り違えて、中間証明書の設定場所に記述してしまうとセキュリティソフトによってはエラー表示になるため注意してください。
| ファイル名 | 説明 |
|---|---|
| cert.pem | SSL 証明書 |
| chain.pem | 中間証明書 |
| fullchain.pem | SSL 証明書 + 中間証明書 がセットになったもの |
| privkey.pem | 秘密鍵 |
root@hostname:/etc/letsencrypt/live/example.com# ls -la
total 12
drwxr-xr-x 2 root root 4096 Dec 9 19:14 .
drwx------ 4 root root 4096 Dec 9 19:14 ..
-rw-r--r-- 1 root root  543 Dec 9 19:14 README
lrwxrwxrwx 1 root root   38 Dec 9 19:14 cert.pem -> ../../archive/example.com/cert1.pem
lrwxrwxrwx 1 root root   39 Dec 9 19:14 chain.pem -> ../../archive/example.com/chain1.pem
lrwxrwxrwx 1 root root   43 Dec 9 19:14 fullchain.pem -> ../../archive/example.com/fullchain1.pem
lrwxrwxrwx 1 root root   41 Dec 9 19:14 privkey.pem -> ../../archive/example.com/privkey1.pem
「Let’s Encrypt」をウェブサーバーに設定する
最後に Apache2.4 / Nginx1.14 時の SSL の設定方法を記載します。
Apache2.4 のSSL設定
<VirtualHost *:443>
    ServerName example.com
    DocumentRoot "/var/www/html"

    SSLEngine on
    SSLCertificateFile /etc/letsencrypt/live/example.com/fullchain.pem
    SSLCertificateKeyFile /etc/letsencrypt/live/example.com/privkey.pem

    <Directory "/var/www/html">
        Require all granted
        Options FollowSymLinks
        AllowOverride All
    </Directory>
</VirtualHost>
Nginx1.14 のSSL設定
server {
    listen 443;
    ssl on;
    server_name example.com;
    ssl_certificate /etc/letsencrypt/live/example.com/fullchain.pem;
    ssl_certificate_key /etc/letsencrypt/live/example.com/privkey.pem;

    root /var/www/html/;
}
さいごに
いかがでしたでしょうか?
一時期に比べると簡単に「Let’s Encrypt」で無料SSLが適用できるようになっていますので、積極的にウェブサイトを SSL 化しましょう。